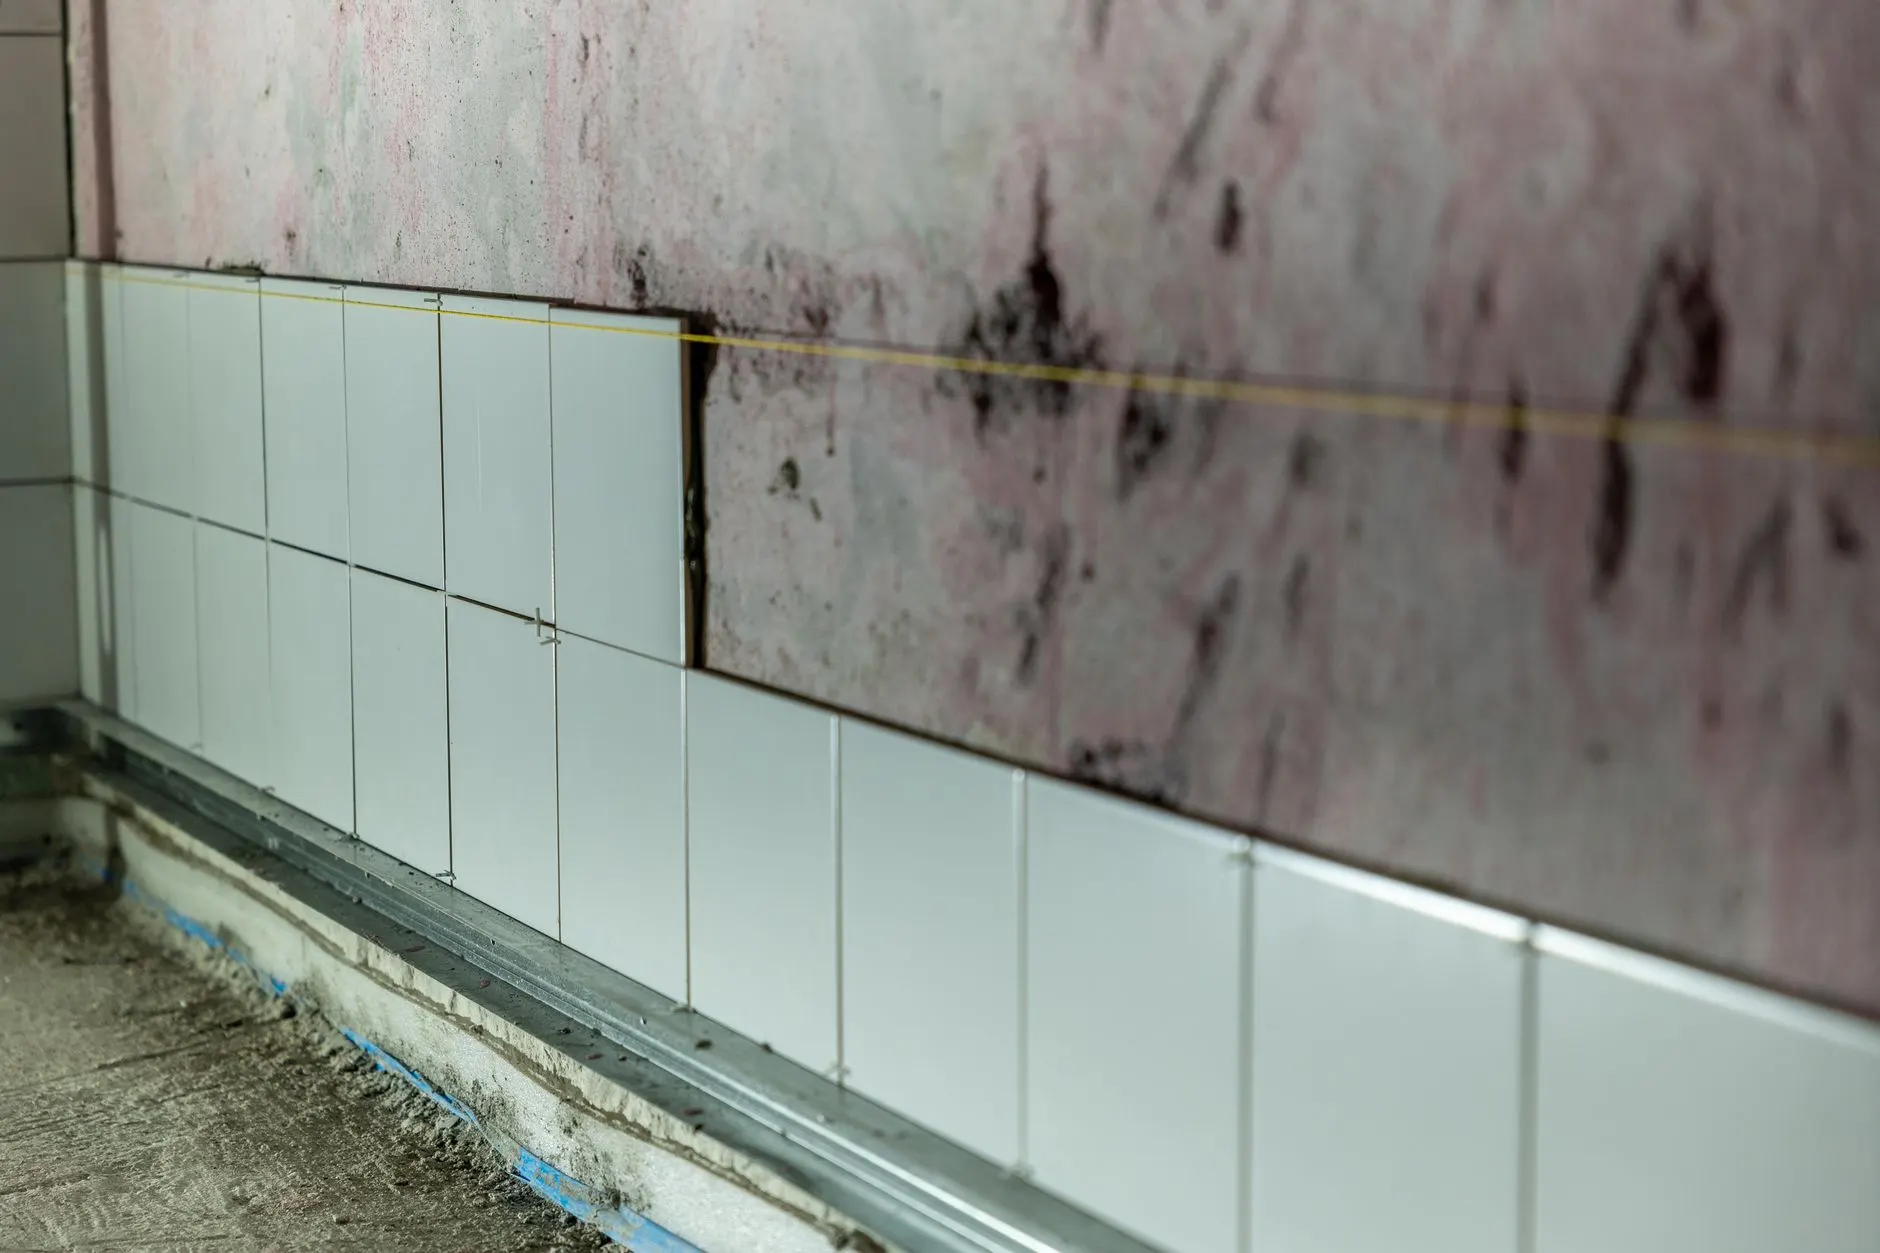
Yes, you can tile directly onto plasterboard in many situations — but whether it's appropriate depends on the plasterboard type, the location, and how heavy the tiles are, and getting this wrong is a genuine cause of tiles failing or the board itself deteriorating behind the tiling.
Standard plasterboard vs moisture-resistant plasterboard
Standard plasterboard is fine to tile onto in dry areas — a kitchen wall away from a sink splashback, for example. In bathrooms, shower areas, or anywhere regularly exposed to moisture, standard plasterboard isn't suitable on its own, since it will absorb moisture over time and can soften, sag, or promote mould growth behind the tiles. Moisture-resistant plasterboard (often green-tinted, sometimes called MR board) is designed for these areas and is the minimum standard for tiling in a bathroom, though even this needs additional waterproofing (tanking) in genuinely wet zones like inside a shower — see our guide to waterproofing before tiling.
Checking the plasterboard is sound and secure
Before tiling, confirm the plasterboard is securely fixed to the studs or battens behind it (loose or poorly fixed boards will flex under tile weight and cause cracking), and that joints between boards are properly filled and taped — an unfilled joint can telegraph through as a crack line in tiling later. Plasterboard should ideally be at least 12.5mm thick for tiling; thinner board isn't rigid enough to support tile weight reliably, particularly for larger or heavier tiles.
Weight considerations
Standard ceramic tiles are generally fine on properly fixed plasterboard, but heavy natural stone, large format tiles, or extensive tiling covering a whole wall can be pushing the practical limit of what plasterboard alone can support, especially on a stud wall rather than a solid masonry wall behind it. For heavier tiling schemes, consider whether tile backer board (see below) or a different wall construction would be more appropriate.
Tile backer board: a common alternative
Many tilers prefer to fix a cement-based or fibre-cement tile backer board over plasterboard (or in place of it) before tiling, particularly in wet areas — backer board is inherently more water-resistant, more rigid, and often integrates more straightforwardly with waterproofing membrane systems than plasterboard alone. It adds a modest extra cost and installation step but gives a more robust, long-lasting base, especially for a full wet-area tiling job.
Priming plasterboard before tiling
Plasterboard is often primed with a suitable primer (sometimes called a plasterboard primer or PVA-based sealer, though check the tile adhesive manufacturer's specific recommendation) before tiling, to reduce the board's absorbency and improve the adhesive bond — skipping this step can lead to a weaker bond, particularly with cement-based adhesives that rely on some moisture exchange with the substrate to cure properly.
Common mistakes
- Tiling directly onto standard (non-moisture-resistant) plasterboard in a wet area. This risks the board itself deteriorating behind the tiles over time.
- Skipping waterproofing on moisture-resistant board in a shower. MR board resists moisture better than standard board, but it isn't a substitute for proper tanking in genuinely wet zones.
- Tiling onto loose or poorly fixed board. This is a common cause of tiles cracking or popping off the wall later.
- Not priming before applying adhesive. Skipping this step can weaken the adhesive bond.
DIY or professional?
Checking and preparing plasterboard properly is a straightforward part of the DIY tiling process for a dry area — see our full step-by-step tiling guide. For wet areas, particularly where backer board and waterproofing are involved, many homeowners bring in a professional at least for the preparation stage, given how much more disruptive a failure is to fix once tiling is complete.
Metal stud vs timber stud walls
Plasterboard fixed to a metal stud partition generally performs similarly to timber stud for tiling purposes, provided the stud spacing and board thickness meet the manufacturer's requirements — metal stud walls are common in newer builds and extensions. What matters most for tiling either way is that the studs are correctly spaced (typically 400-600mm centres for standard tiling loads) and that the board is properly fixed with the correct fixings for that stud type, since undersized or incorrect fixings are a common cause of a board flexing under tile weight later.
Existing painted or wallpapered plasterboard
If the plasterboard has been previously painted or wallpapered, this needs to be fully removed (wallpaper) or properly keyed and primed (paint, particularly gloss or eggshell finishes) before tiling, since tile adhesive doesn't bond reliably to loose wallpaper or a slick painted surface — this preparation step is often underestimated when retiling an existing decorated room rather than a bare new wall.
Frequently asked questions
Related articles
Waterproofing and Tanking a Shower Before Tiling
Why waterproofing (tanking) a shower area before tiling matters, what it actually involves, and what happens if it's skipped or done badly.
Why Are My Tiles Cracking or Popping Off the Wall?
The most common reasons tiles crack or come away from a wall, how to diagnose which one applies, and how to fix it properly.
How to Tile a Wall Yourself: Step-by-Step for Beginners
A practical, step-by-step guide to tiling a wall yourself, from planning your layout to grouting, with the mistakes that trip up most first-time tilers.
Unsure what your wall needs before tiling?
Carvalho Renovations can assess your walls and prepare them properly before tiling, including backer board and waterproofing where needed.
Get a Free Quote